Part 9: Let me see what Spring is like on Jupiter and Mars
Update IV: Let me see what Spring is like on Jupiter and MarsSong Title Reference: Fly Me To The Moon – Written by Bart Howard and performed by like 400+ different people since 1954 (I prefer the Helena Noguerra version from Bayonetta, personally)

Bonding Updates are finally done (for now) and the thread has cast their judgement upon the Star Maidens. Based on polling, our Focus Star Maidens for the immediate future are as follows:
Top 6
1. Arie
2. Mirei
3. Farun
3. Reone
5. Mahiru
6. Ruka
Bottom 6
7. Sue
8. Yuzuha
9. Femiruna
10. Collette
11. Lillith/Lillie
12. Tarua
Arie and Mirei both dominated the poll, maintaining a 7-11 vote lead over 3rd place position. Farun and Reone tied for third, Mahiru managed to hold on for a spot despite the discovery that she is in fact a blood relative of Itsuki, and Ruka tied with Sue for sixth but RNGesus determined that Ruka was more deserving.
There were only a few surprises. The thread had a pretty uniform opinion of the various Star Maidens based on their introductions. The voting largely lined up with that. Mirei’s mad scientist vibe earned her a few fans and a lot of people supported Arie simply because she was the most normal/sane of the heroines. The middle of the pack consisted of a close race between Star Maidens that the thread considered tolerable. The ladies bringing up the rear were mostly the ones that look or act uncomfortably close to children. Also Femiruna was there, I guess.


What this means is that the Star Maidens above will be the ones who get Bonding Updates devoted to them for time being. I’ll show the complete bonding events for them whenever it’s time for us to take a story break.


The Bottom 6 Star Maidens will just get short summaries of their events whenever a Bonding Update comes around. You’ll get the gist of what happened, but not the complete details.
There will be chances for the thread to change their minds. The next vote will happen whenever the new Star Maiden gets introduced to us. That could be really soon, or it might not be until halfway through the game. I have no idea right now.

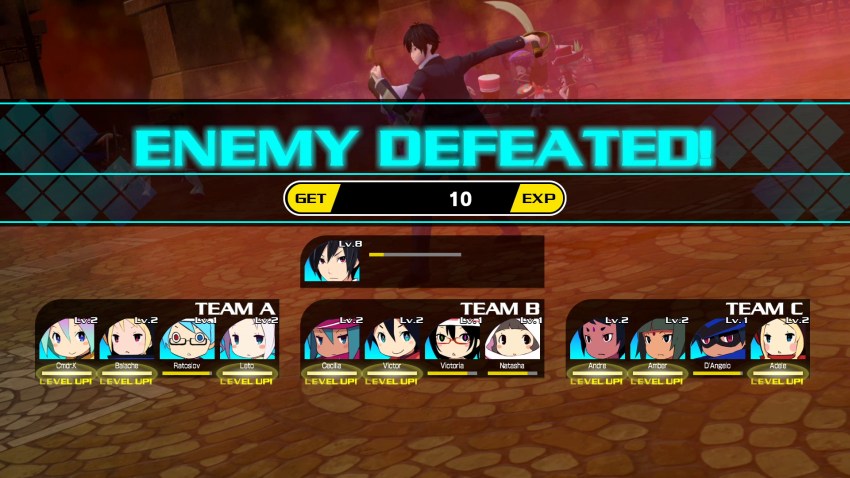
The other vote that happened was the Star Children Team Vote. Here are the results of that polling, as well as how each Team will work from now on:
Team A is known as Team A(wful), the same as in the CII LP. Team A(wful) is made up of four classes that received the highest votes in the poll. Since there were no name suggestions, I named the current members after SA users who submitted team ideas.

In this case we have (clockwise from the top left): Cmdr. K (Female Fighter – Mother: Lillith/Lillie), Leto (Female Archer – Mother: Mirei), Balacha (Male Merchant – Mother: Femiruna), and Ratoslov (Male Cleric – Mother: Yuzuha).
Just a side note: Despite my dislike of Lillith/Lillie (mainly Lillie), she gives Star Children a really cool hair colour when selected as the Mother.

After kitting everyone out with some basic equipment, here is how their stats break down at Level 1. Not too bad, although nothing particularly noteworthy either. Despite their solid MAT, the lack of a Magic Caster means that it won’t do them a lot of good. Their main focus will be on ATK.

Team B is permanently Team Psycho Knight. I get nearly full control over this team. I say nearly because Conception Plus introduced a new feature to this game that I will employ in an effort to make life more difficult for myself (it’s funnier that way).
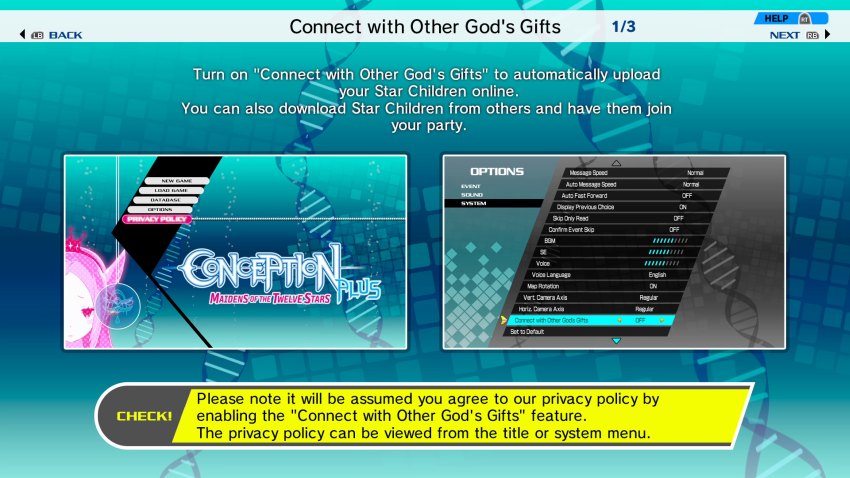

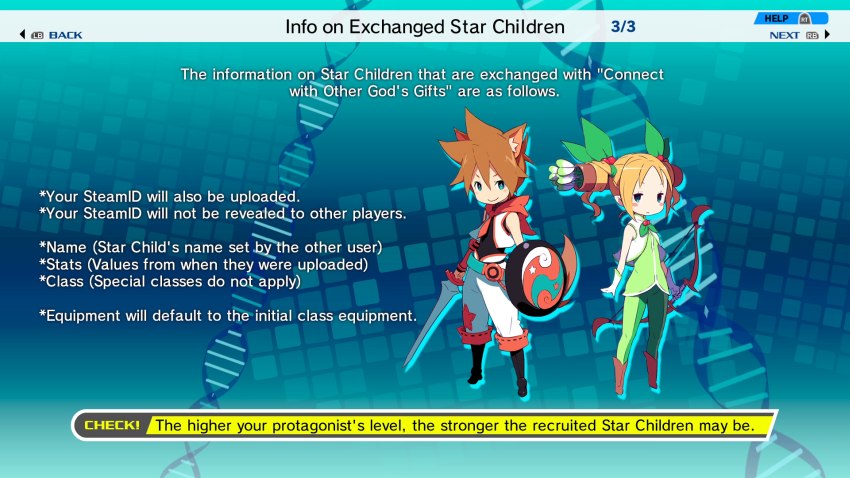
Conception Plus has an online feature which randomly uploads Star Children that you make to the internet. Other users’ Star Children are also randomly downloaded from time to time and can be recruited from the Inn. This triggered once while I was training Itsuki, which resulted in:

Some rando Steam user’s tutorial kid being recruited. You can tell that this is someone else’s Star Child from the Wi-Fi/Network symbol that appears in the mother’s portrait (Mahiru was the mother in this case, which you can see in the top right of the stats screen).
So Team Psycho Knight is chosen by me, except that I am required to swap in any downloaded Star Children that happen to appear. This happens any time that one shows up at the Inn, not just during Team Votes. So if I’m unlucky enough for this download to trigger multiple times in a short period, then I could easily wind up with a completely different team than I initially chose.
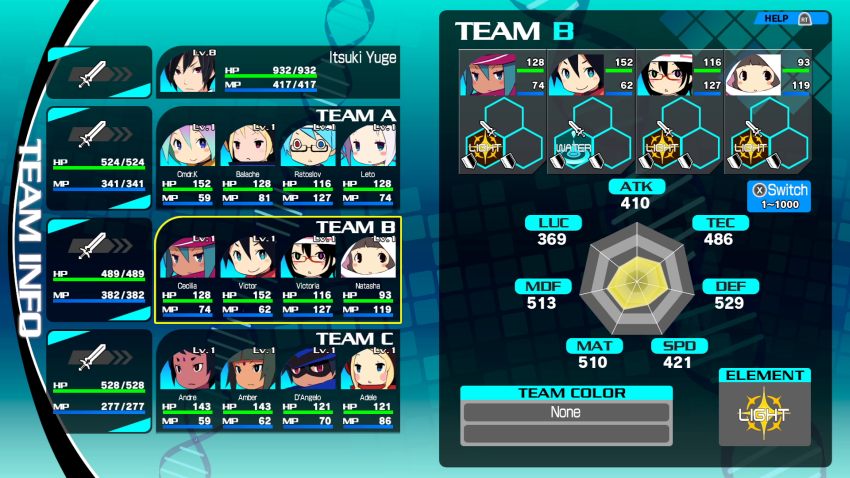
For the first round, I put together a team of Cecilia (Female Thief – Mother: Farun), Victor (Male Fighter – Mother: Arie), Victoria (Female Cleric – Mother: Arie. She and Victor are twins), and Natasha (Female Magician – Mother: Alternate reality Mahiru).
Team PK has a pretty bad stat spread in comparison to the other two teams, no doubt as a result of that tutorial kid I got saddled with from some other user. The one area they will excel in is Magic. Team A(wful) has a better MAT, but they don’t have the actual magic skills to take advantage of it. Team PK’s MAT is roughly on par with Team A(wful)’s, but because there is a Magician in the party they will actually be able to utilize spells. I guess it’s not all bad. It is mostly bad though, because Natasha is level capped at 10, which means she will very quickly become dead weight that I can’t get rid of until the next Team Vote.

Ugh, anyway. Team C is chosen based on suggestions from the thread. SA users submit full team suggestions in the thread and then one of them is chosen randomly to become Team C. User Slaan was chosen this time, so Team C will be known (for now) as Team Couscous (Slaan had recently eaten dinner, which apparently inspired their name choice).
Team Couscous is made up of D’Angelo (Male Thief – Mother: Ruka), Andre (Male Monk – Mother Ruka), Adele (Female Merchant – Mother: Femiruna), and Amber (Female Monk – Mother: Tarua).
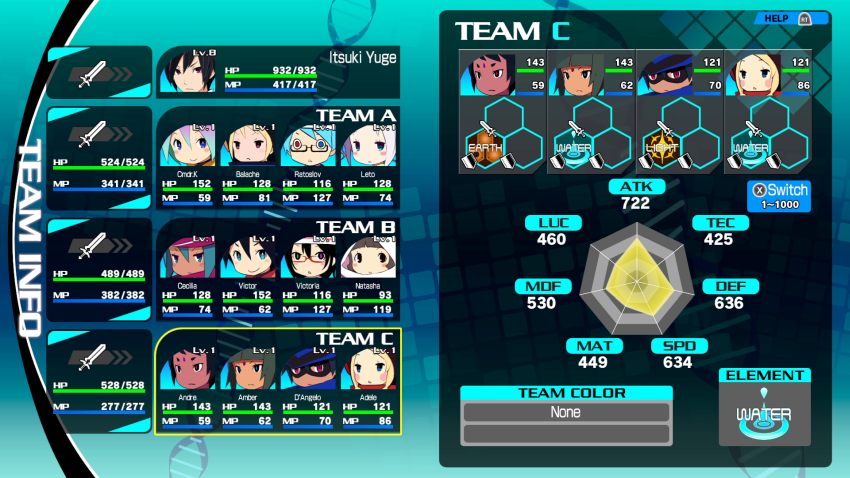
Team Couscous is what would happen if Killdozer had rocket boosters equipped to it. They have better ATK, SPD, and DEF than the other teams. The drawback should be their low TEC affecting their ability to actually hit things, but missing is very rare in this game even with a low TEC stat. The only thing they suffer from with this is probably a low critical chance, which is exacerbated by their middling LUC stat.
So those are the teams we are rolling with for the time being. I give everyone some basic weapon and armor upgrades as well as some accessories that were picked up during Itsuki’s training. Itsuki also gets that Scimitar we saw previously, as well as some new armour. Some of you might be asking where the money for upgrades came from considering that we were left dirt poor as a result of Mana attracting the attention of a pickpocket. Well, here’s the thing about that…

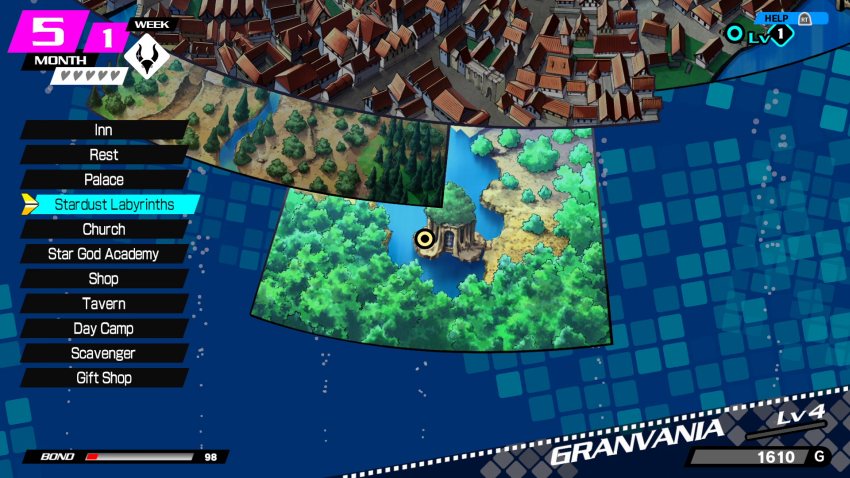
Star Children that you don’t have a use for anymore can be given Independence. This is how you increase the Granvania Level that you can see in the bottom right of the map screen at the start of this update. Increasing the level opens up new shops and makes existing ones better. Independent Children also do things like occasionally send gifts to Itsuki at the Inn. Obviously, the higher the level of the Star Child, the more experience it will give when made Independent. Granting Independence to Level 1 Star Children does almost nothing to level up the city, so you really should be aiming to train them a bit before doing it.
Well, normally you should aim to do that. Sending out a bunch of Level 1 Star Children is sort of helpful during the early game, because Independent Star Children leave behind all their equipment. Every Star Child is born with a basic set of equipment. Now you know where the funds for our war chest came from. I did what I had to, okay? If Mana wasn’t such a gloating asshole then I wouldn’t be stuck having to farm God children like cattle.
Moving on. Some new stuff did open up after I flooded the streets of Granvania with Spirit Warrior Children. We’ll talk about those another time, though. We are long overdue for some dungeon crawling and story progression.
Apologies for how long this opening is taking by the way. In Conception II we only had a few heroines to meet before we were able to blitz the first (heavily tutorial-ized) dungeon and obliterate it. CP just dumped 12 heroines on top of us right from the start and told us to go do whatever we felt like. It required a lot more preparation work than CII.

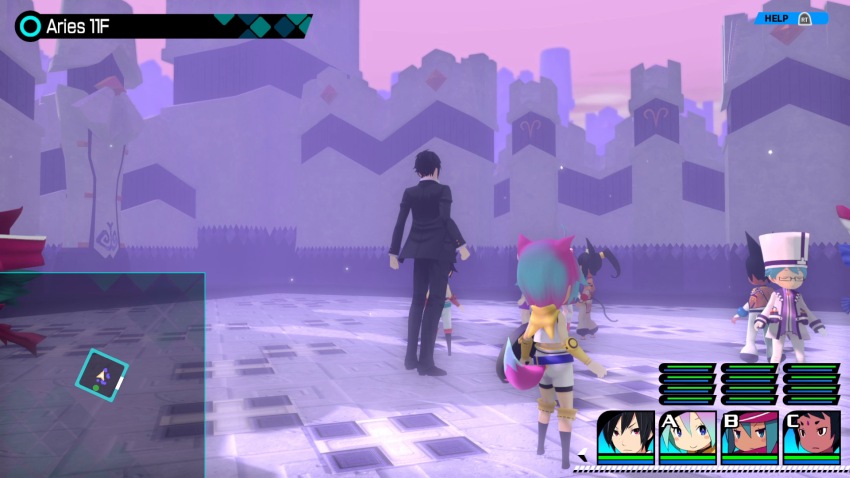
But now we’re finally here and ready to get shit done. The Spring dungeon is the only one open to us, so we start there on the first floor. Technically we could start on the fifth floor because that’s how deep I got while training Itsuki, but our newly born little strike force needs levels before heading into uncharted territory.
Everything goes well for the first few floors. We’ve already seen all the enemies that this section of the dungeon has to offer, so I won’t bother going over them again.

However, I do want to point out a particular skill of Itsuki’s. Itsuki has something called God’s Poke which will instantly kill weaker enemies just by running into them in the dungeon. You get the spoils of the battle without having to actually battle them. Unfortunately, CP does not provide any visual indication of whether the enemy you are running towards will be instantly wiped out or pull you into a battle. In CII, the enemy models were made smaller and were also a deeper purple when they could be God’s Poke’d.
The enemy models in CP don’t change at all, so you can’t really tell if you’re going to trigger God’s Poke or not.

The other thing to note about CP’s dungeons are the prevalence of traps. In CII, dungeon traps were incredibly rare up until the later half of the game. In CP, traps are incredibly common right from the very first dungeon. I took a hit from the Falling Stones trap (-10% HP, no visual indicators as to where these traps are) probably every other floor, sometimes twice on a single floor. Explosions will also happen sometimes when you open treasure chests and also result in a -10% hit to your HP. It’s very annoying.

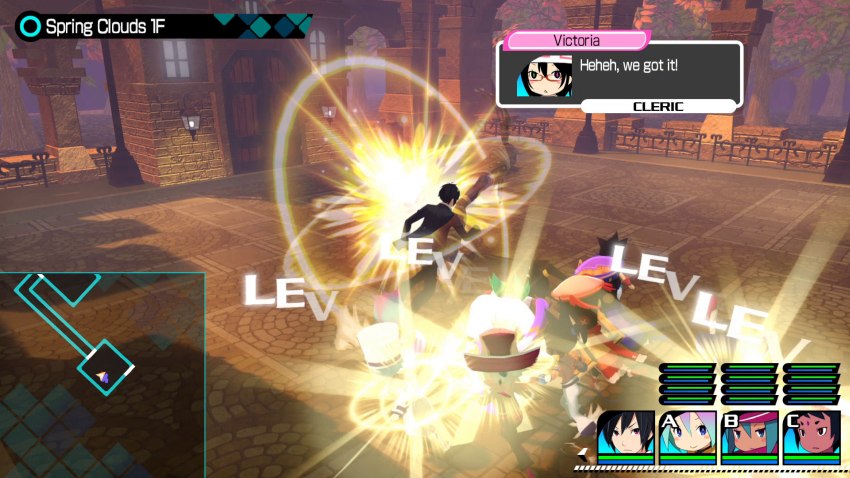
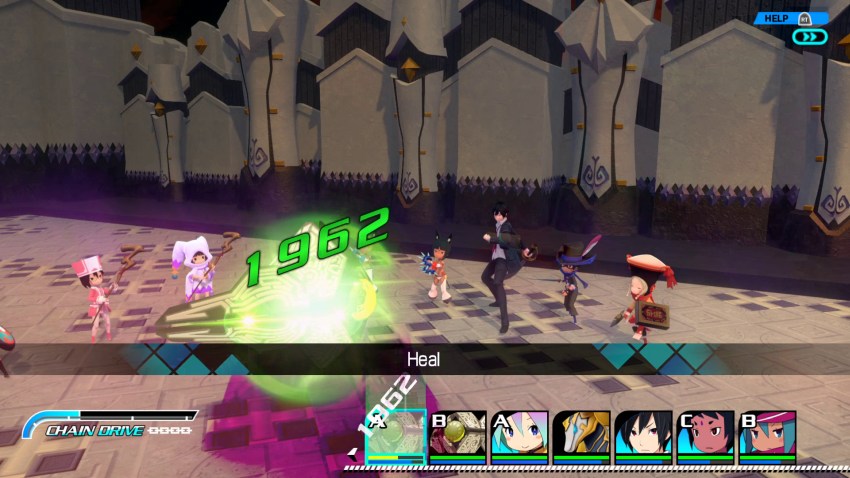
Fortunately, the game is merciful enough to give us some help. Healing pots, like the one in the screenshot above, appear fairly regularly. There are four types that I have encountered so far: Yellow cures all status ailments for the party, Green is a full HP heal, Blue is a full MP heal, and Pink is 100 Bond Points. These pots are single use, so if you find one you may want to save it for later if you don’t immediately need it. Full HP is especially useful since you can run to the next room, grind for a bit, then come back for a top off before continuing. Or, if it’s an MP heal, then you can use healing spells to heal up your HP first, then top off the MP with the pot.
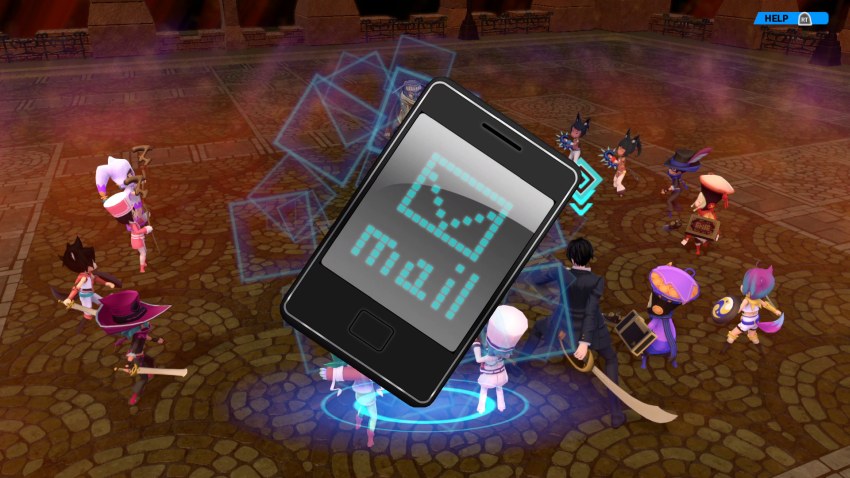
Occasionally you will get a “Mail” notification, either in battle or in the dungeon map. The Star Maidens will send messages about random shit from time to time. Only Itsuki can check them and doing so will use up his turn. In this case, Sue has something for us. Let’s have a read.
To Itsuki. This is Sue. Aegis gave birth to a really cute girl. If you want, I can give her to you. But you’re in the labyrinths… so she might not be good for that. Aegis is a turtle. If you take her into the labyrinths, she might get left behind. But turtles live long, so she’ll always be waiting for you. If you do want her, tell me and I’ll bring her to you. Bye. From, Sue.Fuck yeah I want a baby turtle! Are you kidding me? Plus, I don’t trust her with you. No offence to Sue, but animals on her ranch seem to be under questionable care. We still don’t have a name for the very visible cow in the barn, and user Polsy pointed out that the pig from Sue’s introduction seems to have vanished.

Leaving behind tutorial stuff for a bit, let’s have a look at some new enemies that have appeared since the first time we were here. Micros usually fight alone, at least in the first few levels of the dungeon. They are tougher than Bootes but also a bit slower. They also like to spend their first turn charging for a big attack. That means that these guys are ripe for chaining.
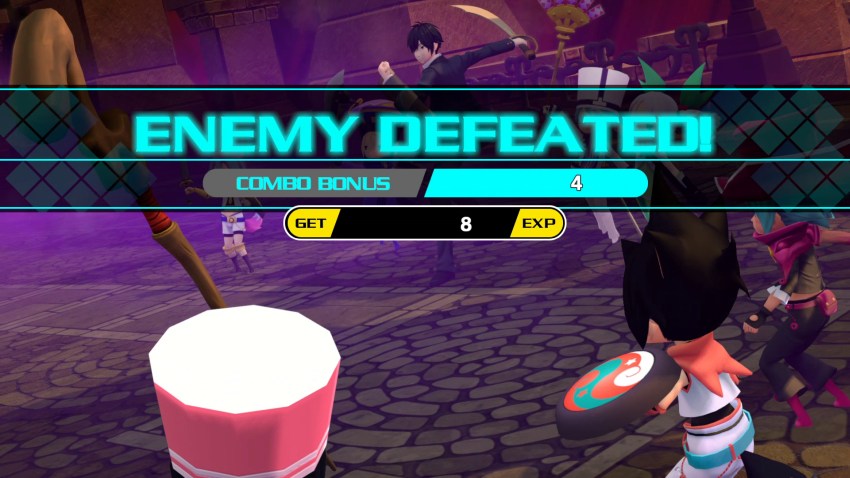
Hit them head on when they are trying to charge their big attack and you should be able to chain them before they actually get a chance to strike. From there you can easily build a combo of between 3-7 hits. Chain Combos will give you bonuses to EXP/Money/BP. In CII, Chaining was nearly impossible to make use of because almost everything died in one or two hits. The enemies in CP have so far been made of tougher stuff than their CII counterparts, so Chaining in this game is much more viable.
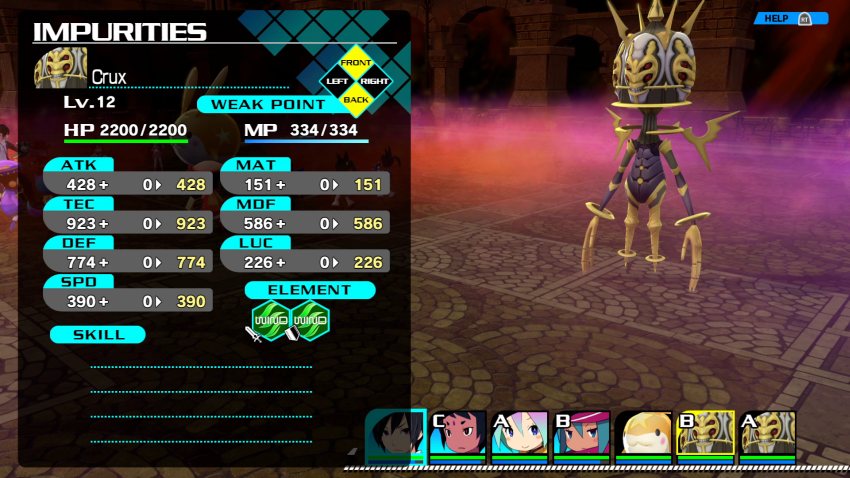
Crux is the next new enemy design we run in to. They can attack in two directions at once, so watch for that in your positioning (they attack two zones that are opposite of each other, so Front/Back or Left/Right for example. These guys are not the important enemies in this encounter, though.
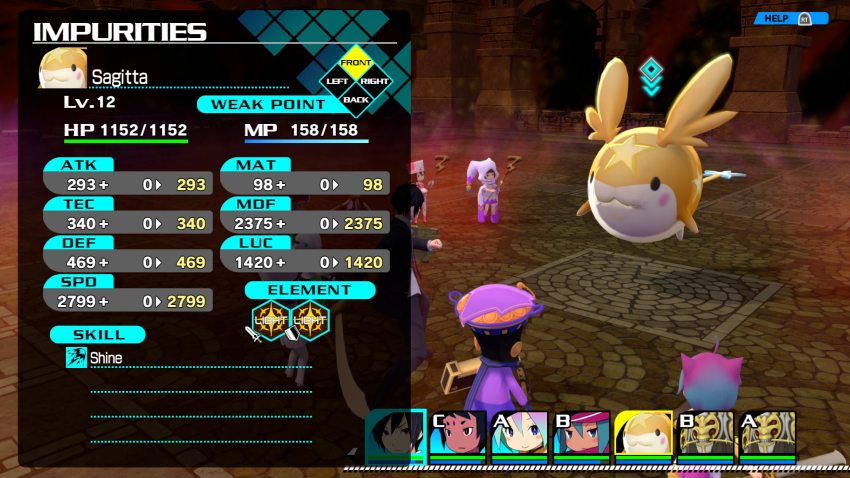
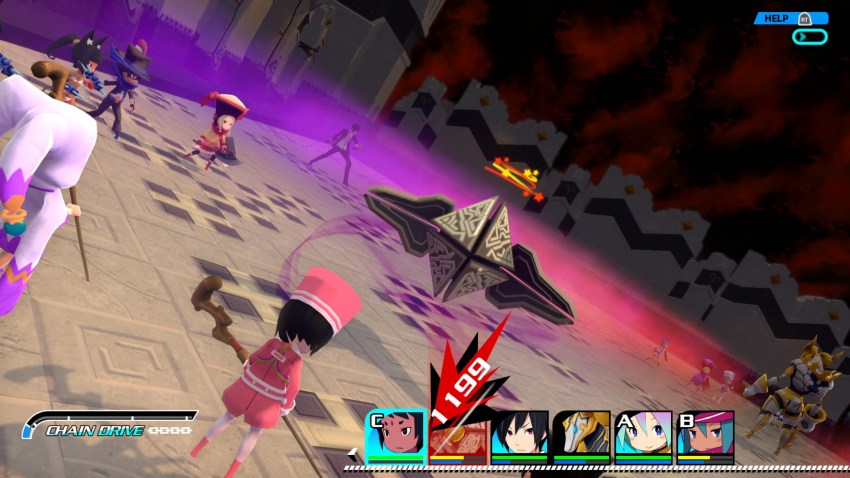
That would be these little buggers. Sagitta are rare spawns that will try and run from you when you move towards them on the dungeon map. They disappear after a short while and can move at basically the same speed as Itsuki. You need to chase them towards a nearby wall so that they get stuck and you can catch up to them in time.
Sagitta, as well as all of their colour swapped variants, are EXP Pinatas. They are incredibly fast and very resistant to magic, but their physical defence is mostly garbage. They have a chance to run from the battle if their turn comes up, so kill them quickly. The good thing about the early Sagitta is that by them running, you are almost guaranteed to get an Advantage on them that will let you move first.

The trick is to take out the Sagitta first, then try and set up a chain on the enemies that accompany it. Doing so can net you a good chunk of EXP (typical battles at this point pay out 8-16 EXP, just for reference).

One final dungeon gimmick that I will highlight for now is this thing. Altar’s allow you to offer up an item or piece of equipment and get something else of roughly equal value in return. You are more likely to get items in return that you don’t already have, so you should always be making use of these. In this case, I offered up an extra Short Sword+ and received a Trident. We don’t have any spear wielding Star Children just yet, but it might be handy in the future.
Anyway, that’s enough of that. What I’ve shown off is the basic dungeon crawling stuff to watch out for. From this point on, I’ll show off new enemy designs only. This game loves to use colour swaps for enemies, so I’m not going to document each and every one of those slightly different variations. Let’s just buckle down and get this first Star Offering in place.
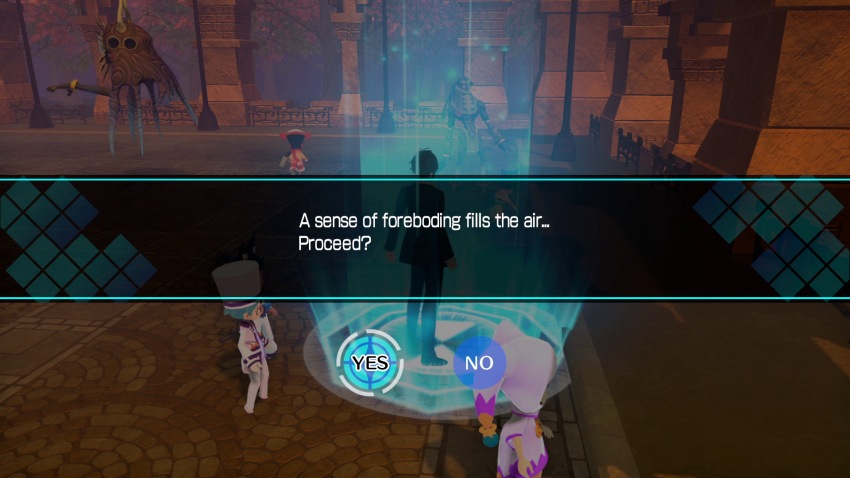
Upon reaching the Next Floor Portal on Floor 5, we are given this warning. This means that a mid-boss is up ahead.
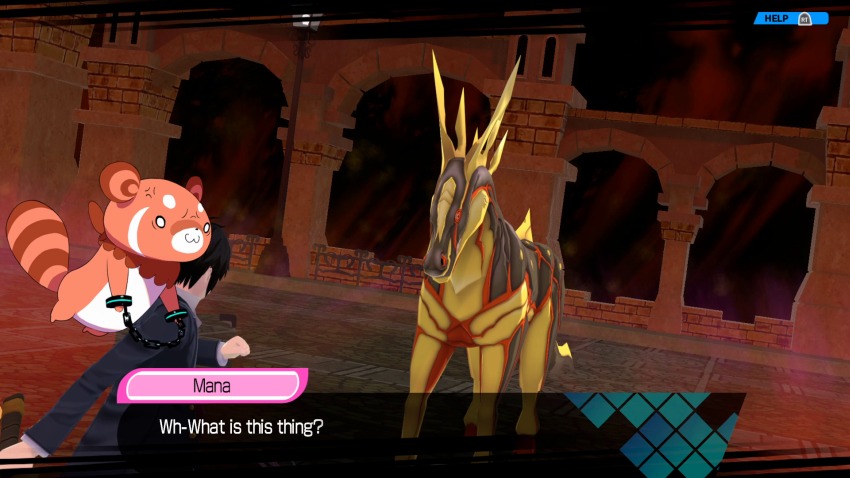
 It’s completely different from all the fodder we’ve beaten!
 It doesn’t look like we’re moving on until we beat it. It keeps moving to block our path. Itsuki! Go and put down that wild horse! Don’t worry, I think we can handle this now. Listen, Itsuki! Use MECUNITE on stronger opponents! The Star Children on your teams…
  Star Angels are an evolved form of Star Children! Neat. We already know how to do that, though. Let’s go, everyone! Our first mini-boss!
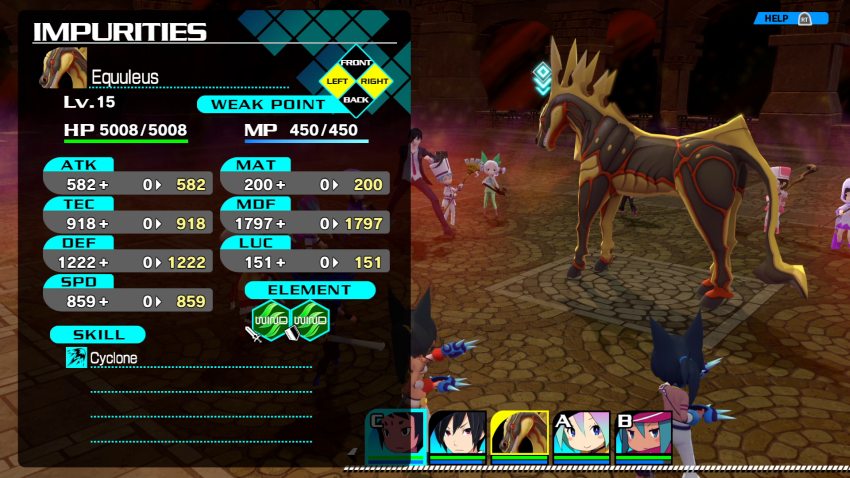
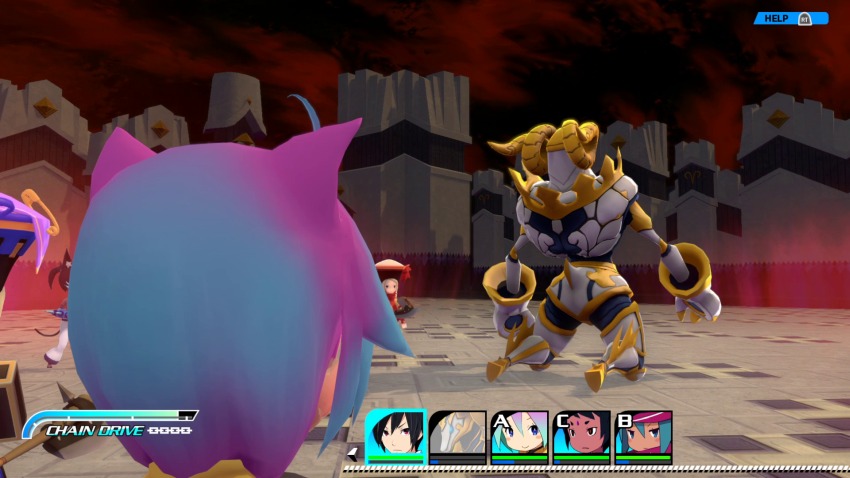
Equuleus is less of a mid-boss and more of a preview of what the basic enemies will be for the next five floors of this dungeon. It’s got an inflated HP pool, but other than that it’s nothing special. It can dish out about 200 damage to Itsuki and 25-80 damage to each individual Star Child.
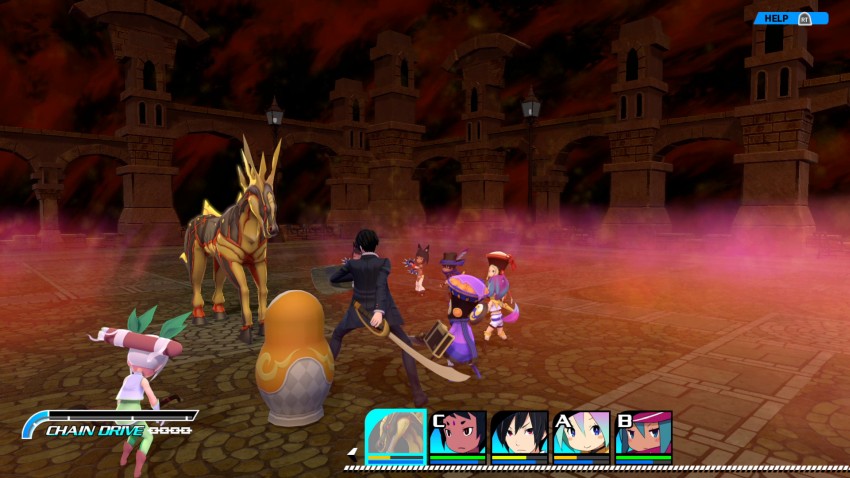
That being said, it doesn’t hurt to have some healing on hand. Ratoslov the Cleric of Team A(wful) eats dirt after two attacks. To be fair to him, the Star Children have been building levels as they go, so they’re probably a little underleveled for this fight. I don’t really have the patience to grind them up to a decent level at the moment, since it’s been so long since we’ve made actual story progress.

Not that it made much of a difference for this fight. Team Couscous scores a hard hit with their Devil’s Back skill during the very next action and vaporizes this thing. Devil’s Back attacks from 3 directions. In this case, that allows Team Couscous to hit 2 of Equuleus’ weak points at the same time, resulting in the higher damage you see above.
We get 50 EXP for the fight which gets Itsuki and most of the Star Children to Level 10. A few of the others manage to hit Level 11.
 The lower floors harbor even stronger Impurities. You shouldn’t overdo things at the start. You’re better off returning to the surface. Your Star Children are tired. I’m sure you are too. Well, I’m actually feeling pretty good. It’s still a good idea to go back, though. We’ll need to fight our way out as well, after all. That’s not true. Take a look, Itsuki. You see that dimensional rift there? The dimensional rifts were placed in the labyrinths during their creation. Anyone besides the Impurities can use these to return to the surface. Come on, Itsuki. Let’s use the dimensional rift to get out of here.
We already knew about these dimensional rifts, AKA “Portals.” However, the game forces us back to the world map regardless. I take the opportunity to save and check out the shop, which is saying that there is new stock available. Unfortunately it’s just a bunch of accessories that resist various “Stat Down” statuses. I don’t find those to be worth it, especially since we’ve picked up good accessories like “+20% Speed” and “+20% HP.”
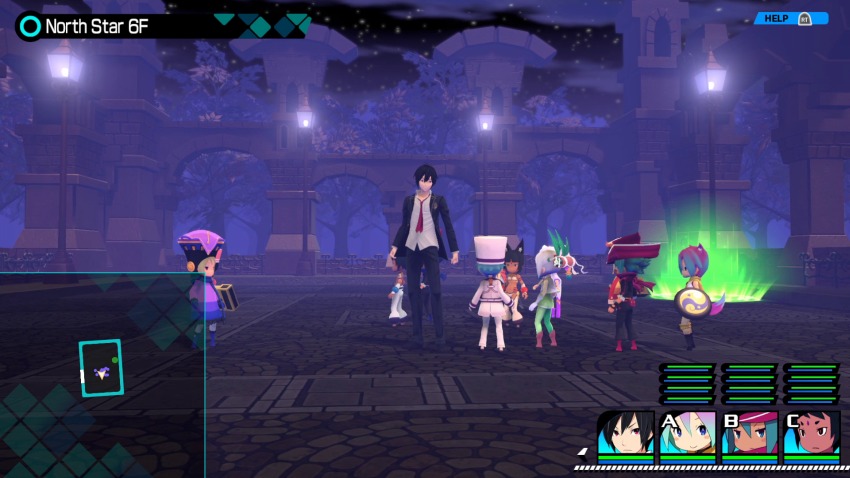
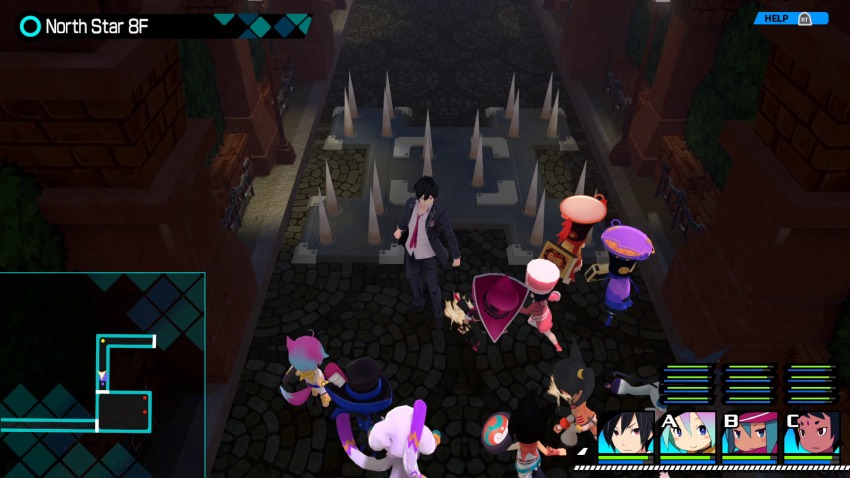
We pick back up in the North Star Labyrinth on Floor 6. This is still the Spring Labyrinth, they’ve just decided to give different blocks of it different names. It’s also nighttime now.
The standard enemy for this set of floors is the horse thing we just fought, except they’re green this time and called “Equulaos.” Their stats are also lower than the mid-boss version. Nothing noteworthy. We also get recoloured Bootes enemies called Booteles. No change in element, they just have slightly better stats.
One noteworthy thing is the addition of a new trap type. These spike traps are easy to spot and also make noise when the spikes extend, so getting hit by them is nearly impossible unless you simply don’t give a shit. So far they only show up in hallways between rooms, where enemies can’t spawn, so you won’t be pushed into them while trying to dodge enemies. I heavily presume that these will get more dangerous as the dungeons progress.
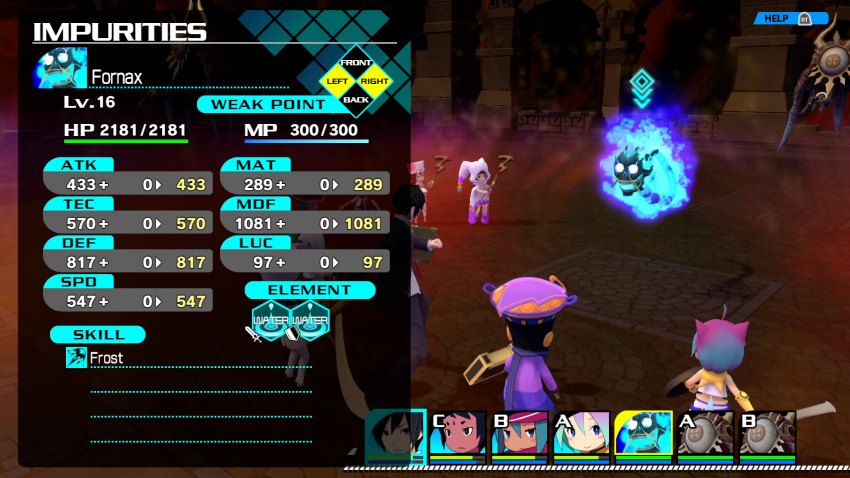
A new enemy type shows up on Floor 9. Fornax just kind of exist. They have elemental spells, but not the MAT to really make use of them. These versions don’t anyway. Future variations might.
Something to note is that enemies in this section of the Spring dungeon start dropping Starbox Keys. These keys can be used to open locked treasure chests, so it might be a good idea to farm a few.
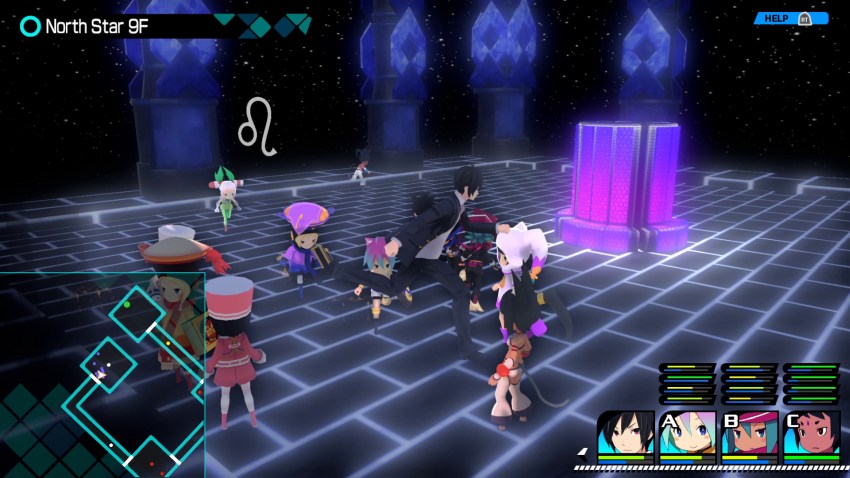
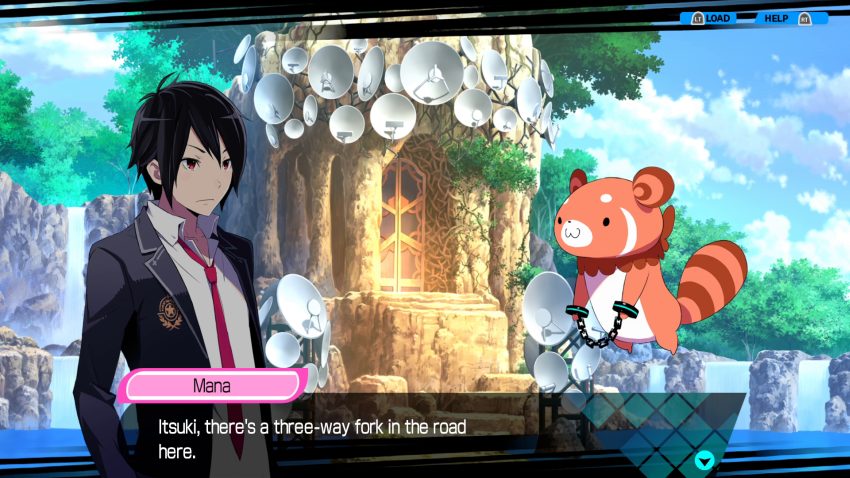
While exploring, I stumble on this strange room. Nothing like this in CII. Wonder what it does? I assume something good, seeing as how there are floating astrological signs everywhere.
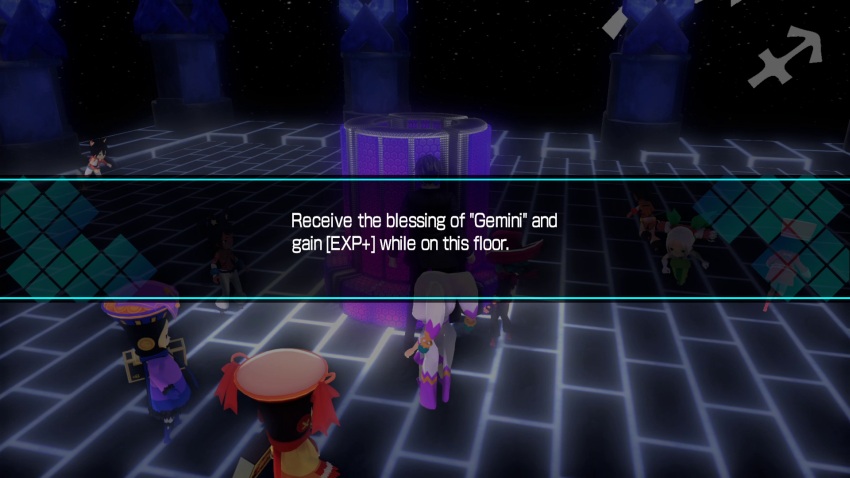
Okay, that’s what these are. In CII, there were magical floating balls of energy that would show up on dungeon floors sometimes. They gave various bonuses (of varying usefulness) that applied to the current floor. These rooms seem to be a replacement for that. Good to know.
In case you're curious, the EXP boost isn't a lot. It only makes a difference of a few points at the moment. I'm guessing that it's percentage based, so it will probably be more helpful later in the game.

On Floor 10, we get a slightly more concerning message from the portal.
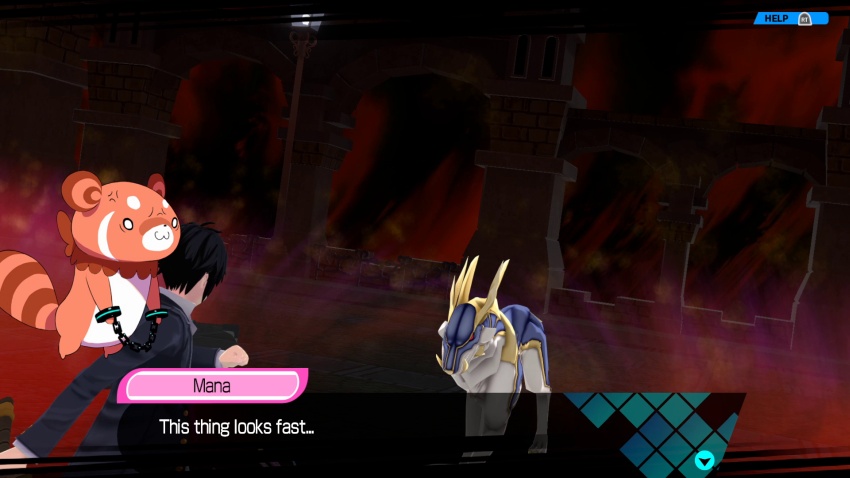 And that lean belly! That thing’s gotta be super hungry right now! Yeah, it might be a good idea for you to hang out in the back. You’re kind of bite sized. You don’t need to tell me again! Itsuki, get out there! I’ll be cheering you on from behind!
Despite Mana’s warnings, this thing isn’t actually all that fast. I mean, it’s swift enough to keep up with our teams, but it’s not like it’s running circles around us or anything. I’m personally more concerned with its defences.
In terms of attack, Lupus likes to use Cyclone a lot. This can deal a fair amount of damage, but only around 100 or so to each Star Child. However, keep in mind that none of our Teams are weak to Wind. If we did have a Wind weakness, then this would be a bigger issue.
The Fornax like to cast Frost, but by the time they’ve gotten into position to actually use it you should have Lupus almost dead. Not a scary fight. Like the last one we fought, this is mostly just a preview of enemies to come.
 From here, you can go to the Aries, Taurus, and Gemini Labyrinths. The Impurities will be stronger than before. How about returning to the surface so you can regroup? I see a dimensional rift over there.
We don’t get a choice here and are once more kicked out of the dungeon. Not to the world map this time, though.
 Hm… Speaking of the Spring Labyrinth… I heard from Mahiru that on Sora, there’s a country called Japan… And they do this “flower viewing” thing in the spring. That’s right. Japan is where we’re both from. Some adults get wasted under a tree and fight each other. Is that true? That’s not the point of flower viewing, Mana. You’re supposed to watch the cherry blossoms. Then you don’t need to booze up? No. No you do not. So you’re saying adults and kids can enjoy it. All right. Then let’s do the same thing in Granvania. Well, there’s nothing wrong with that I gue- Drinking in public is also one of the great things about flower viewing! Alcohol makes everyone friendlier. Hopefully that’ll deepen your bonds with the Star Maidens even more! I am not getting drunk in public, Mana. You realize that’s not exactly tolerated, right? Oh, come on… You’re not on Sora. Who cares about those pesky rules? Well, even if you don’t, most of the other Star Maidens will.
Mana raises the point I keep making. Official Itsuki here repeats that crap about not being old enough to drink. Mana rightfully points out that we’re not on Earth, let alone in Japan right now. Stop being a square, Official Itsuki. Live a little! I mean I personally don’t drink, but that’s more because I hate the taste and it’s way too fucking expensive to justify. Also because I’m friendless, loverless, and miserably depressed, so drinking alone is a one way ticket to fatal alcoholism. …What was I talking about again?
I hope you’ll at least play nice. Wait a… I get it! You feel like telling me what you’re whispering about? Oh, sweet nothings is all. That’s what I thought. By the way, what are these cherry blossoms like? They’re a popular flower in Japan. Kind of a pale crimson when they bloom. It happens in the Spring. What sorta color is a pale crimson? Well it’s crimson, except pale. You know, kind of like pink? Do you know what that is?
I have no idea why Official Itsuki just doesn’t say pink to begin with.
Oh, I think I do. Kinda like the color of a drunk girl’s cheeks. It’s the sexiest color. So the Japanese drink booze for flower viewing. How tasteful. Lemme try to find a similar plant in Granvania. Now that people can’t get it on with each other, there’s not much fun to be had.So you’re going to encourage drinking and romantic scenery? That seems a little counterproductive.
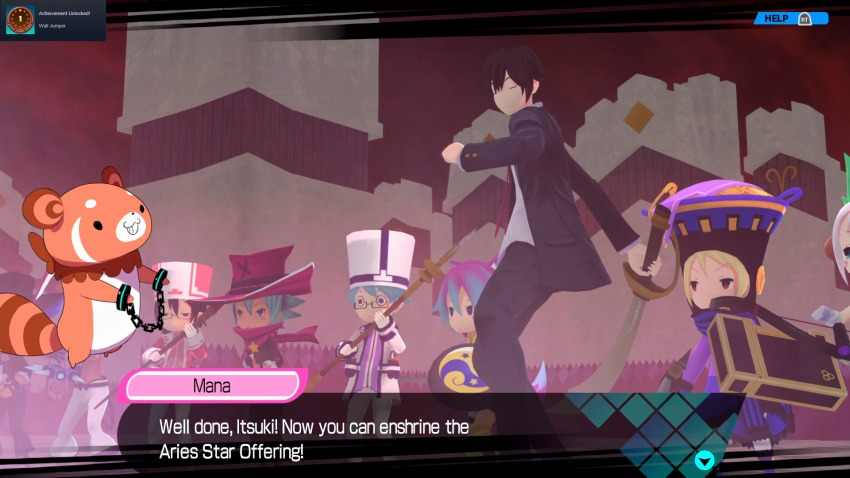
I’ll ask the king to make this flower viewing more widespread!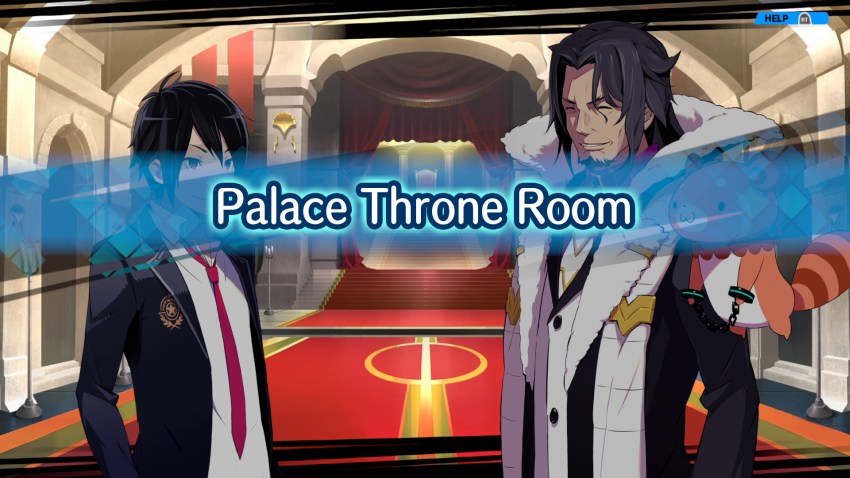
 I heard from Mana. Narcisstes, I trust you will arrange for the people to attend flower viewing every spring.
 Understood, Your Majesty. We’ll find a plant similar to cherry blossoms and plant them in a special location.
Uh, okay. I guess this will be a thing from now on.
I have discovered that there are seasonal events in this game that happen every year. There is a sports festival coming up in May for example. We’ll check those out when we get the chance. I won’t get into detail right now since we still have a Star Offering to pop in.
Now you can guzzle down in spring during the celebrations. Can you even drink? Just how old are you? Let’s just say I’m older than you. Oh, and when the time comes from flower viewing, you better ask a girl out. Maybe they’ll even invite you!I have a feeling that both of those things will go poorly until we’ve built up the bond gauge a little more.
Anyway, after that minor diversion, we’re free to continue our push into the Spring Labyrinth. Back to the grind.
 The Impurities are weakened at the Aries Labyrinth, so let’s head there. If you can’t enshrine the Star Offering, I worry about the other labyrinths… I know that. I’m doing my best here.
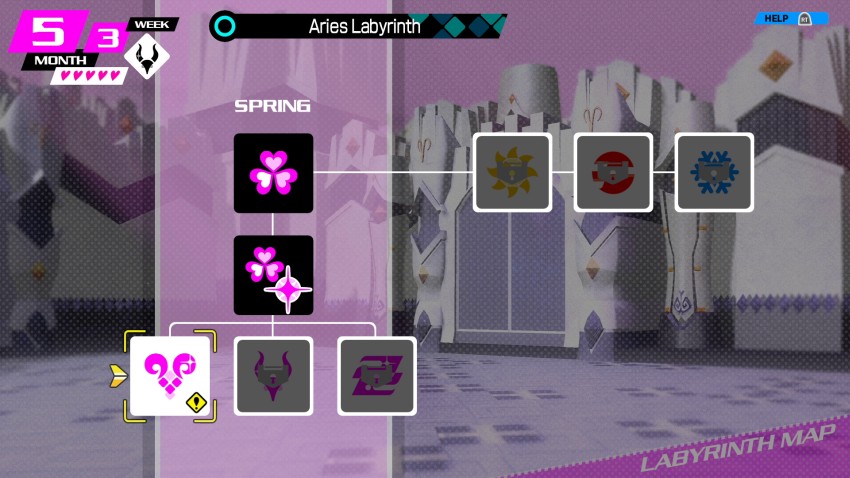
Despite what Mana said, I’m pretty sure the Impurities in the Aries Labyrinth are not actually weakened. We started the game in the Aries portion of the calendar, but we are currently in the Taurus months, which I assume means that the Taurus Impurities are being weakened. I won’t fault the game for this, because I’m sure they figured that players would have reached this point within the four weeks of April. I just spent that time farting around in order to grind out all the bond gauges.
Also, we’re technically one year later. Due to all the grinding and resting I had to do, the calendar had advanced into Summer, so I decided to keep skipping weeks until we circled back around to April again. We’ll just ignore that little bit of gameplay for narrative purposes.
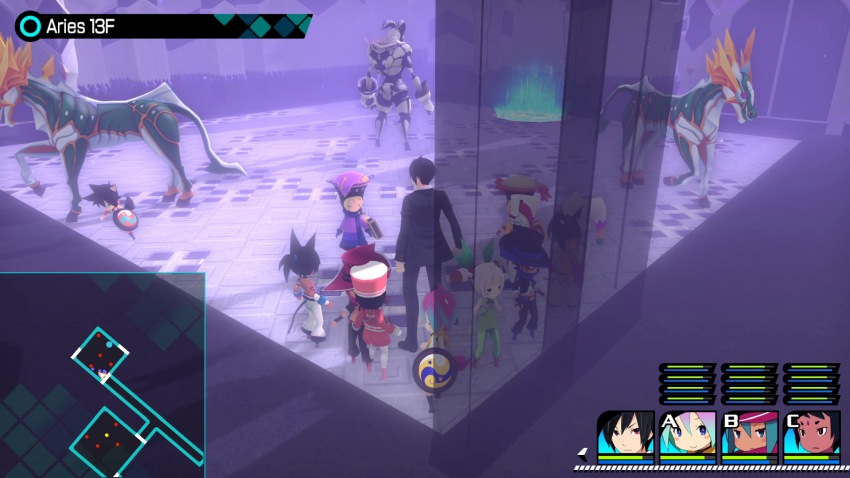
Once we’ve hit Floor 11 of a Labyrinth, the design changes to reflect whatever star sign we’ve entered.
For now, the enemies consist of green generic versions of Lupus as well as the generic versions of the horse enemy. There’s also white versions of the Bootes enemy.

We also get a message from Lillith at one point.
Hello. This is Lillith. This transmission thing is so convenient.How the hell are they doing this, by the way? Granvania hasn’t shown any hints of Information Era technology like smart phones. I think we’ve spotted some display screens, and Narcisstes has a hologram projector in his study or whatever the hell that is, but those seem to be magic based. Even if we assume that the Star Maidens are using Mahiru’s cell phone, that doesn’t explain how the Earth devices are communicating with each other. Are those satellite dishes on the outside of the Labyrinth also cell towers?
You can send mail to someone far away. Did you receive this? Please let me know if you did when you return. I hear the labyrinths are very dangerous places. I got worried, so I sent you this. How are you doing? Please don’t get defeated. And try to make sure you don’t get sick. Good luck. I’ll be cheering you on. I hope to see you later. From, Lillith.Good stuff. Moving on.
On Floor 13, we stumble on this mean looking thing.


Pseudo is accompanied by two little helpers. I don’t know why this fight is here, exactly. I only found this guy once and he’s related to the Impurity Boss that we’ll be fighting. I’m not sure if this is just a rare spawn of a generic version of the boss, or if this is supposed to give you a preview of what you’ll be dealing with. It’s a little odd for it to appear here, though.

Speaking of the Impurity Boss, we finally reach it after getting to the portal on Floor 15. If you were curious how to tackle that Pseudo creature up there, then pay attention to this fight, because they are basically the same thing.
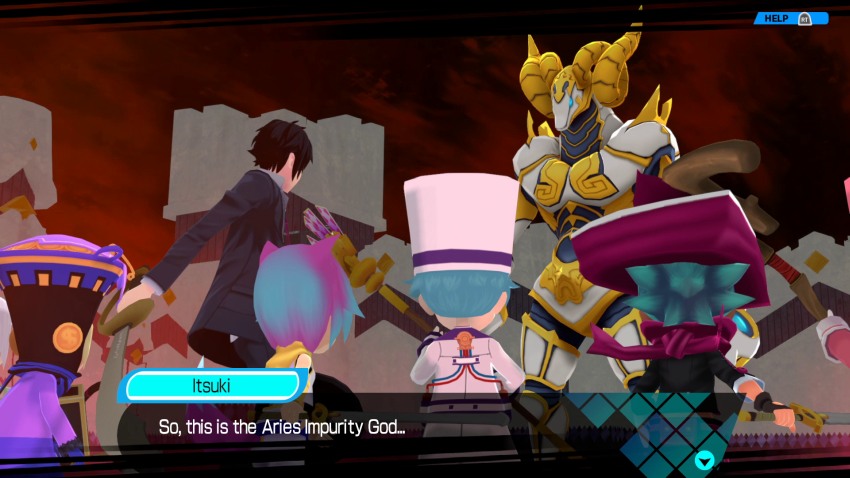 This is… uh… a little more intimidating than I imagined… We must defeat it and enshrine the Aries Star Offering! R-Right… You’re right. We have to do it. It’s too late to be nervous. Come on, everyone! Let’s make sure that Arie’s offering gets put to use! Let’s do this! This is Pseudothei of Aries. It’s a Light element Impurity God! It uses Light magic! Star Children that are Dark elementals must watch out! It’s a little late for that information, Mana!
Typical Battle Example + Aries Boss Battle

This boss is the same as the generic version we encountered on Floor 13. Pseudothei has the same two helpers with him, but he has better stats and the ability to heal statuses. Those are about the only differences.

That being said, those inflated stats do make a difference. Leto gets taken out with that one attack and Team A as a whole is left barely clinging to life. Of course, that was a critical hit, but even a standard hit from Pseudothei can knock out half of a Team’s HP.

As a quick aside, you only have to use Bond Shards on KO’d Teams. That means all members of a team have to be knocked out in order for it to count as needing a Revive instead of a heal. Even if three of the four Star Children are knocked out, popping a potion or using a healing spell will get the others back on their feet. For example, you can see that Leto is out of action right now. But because we’ve got at least one Star Child still rocking some HP, we just need to throw a potion and…
Leto is back on her feet. I make this note because Revive items are expensive and a little on the rare side right now, so you really don’t want to be wasting them on single Star Children when a potion will do the same thing. We only need to use Revive items or spells when every Star Child on a Team is knocked out at once.
Back to the fight. The two adds in this fight can cast a fairly potent Heal spell on themselves and others. That means trying to tackle the boss first is a bad idea. Focusing all of your attention on the adds is also a risky proposition though, at least if you leave Pseudothei to his own devices. He starts in the center of the field with all of your teams surrounding him while the adds tend to start in opposite corners (or at least they did for me).

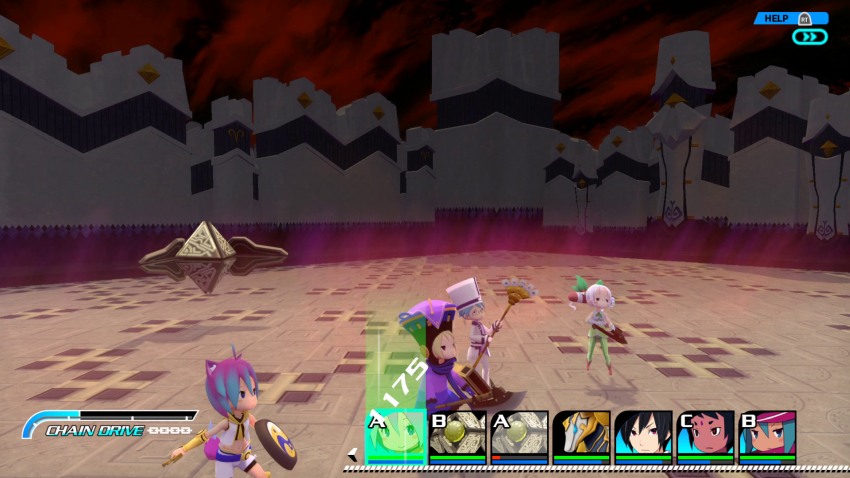
I’ll be honest, this is a pretty hefty challenge for an introductory boss. Unless you’ve overleveled, then going into this with fewer than 3 teams is likely suicide. In our case, it’s still close to suicide even with 3 teams because we’re probably underleveled. I can still make this work though. I chose to employ the same strategy that was used against the final boss of CII. That strategy being “let the main boss use one of the Star Children teams as a punching bag.” Team A(wful) remains in the center and defends whenever they aren’t dousing themselves in potions to stay alive. While that is happening, Team PK and Team Couscous help Itsuki gang up on the adds one at a time in order to overcome their healing.
Team Couscous gets a lucky shot on the second add with a skill called Brain Shaker that manages to inflict Panic. So the second add goes down with less of a fight than the first one did since it’s confused and doesn’t think to use its Heal spell. Instead it sticks to basic attacks.

Once the second add falls, I take the opportunity to get some healing and MP restoring in before everyone migrates to the boss circle to start chipping away at his health.

By the time everyone is ready to rush the boss, he has mostly drained himself of MP by constantly casting Shine on Team A(wful). At this point he switches to pulling charge attacks. Team A(wful) had taken enough of a beating, so instead of attacking Pseudothei head on and aiming for a Chain, I have them move out of the way to dodge the attack.


Team Couscous is unfortunately not as lucky. The boss outruns them during his second charge attack and nearly wipes the team. Andre just barely manages to hold on with 25HP. Before the next boss turn comes up, I have Itsuki throw them a full potion which gets everyone back in fighting shape.
Pseudothei goes for one more charge attack, but Itsuki and Team Couscous finish him off before he can actually do it.
We get 120 EXP (20 of which came from a Chain bonus that I got on one of the adds). We also get 3000G and 3 Star Drop F.
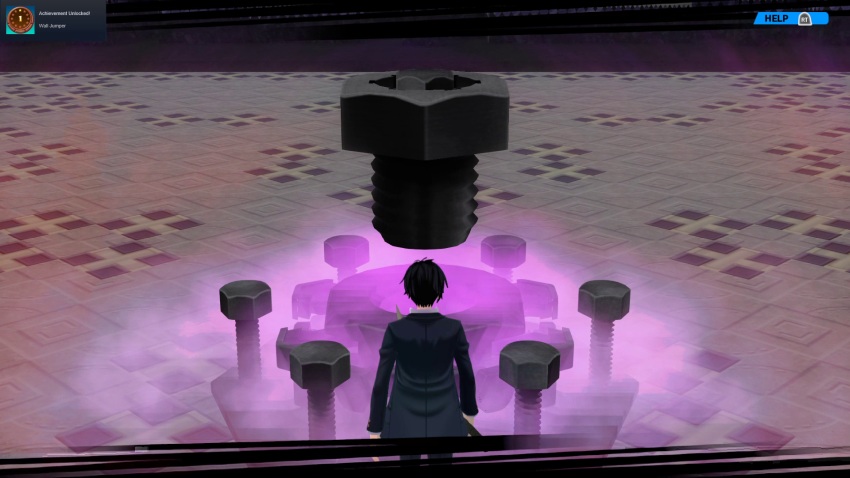
That’s it? Couldn’t we have just brought a big Allen Wrench or something?
…Is it working? Hmm… The Star Offering is still young and can’t fully suppress the Impurity God’s powers. The evil power that escaped will wander the labyrinths and power up the Impurities. What?! But we beat the boss! You’re telling me that we’ve just made the monsters in here stronger?! But with this, the number of Impurities in the Aries Labyrinth will decrease. Come on, Itsuki. Let’s go back to the surface. *sigh* Well, I guess that’s sort of good. Sure, let’s head back. Smell that fresh air. It feels so relaxing. You managed to enshrine the first Star Offering. Itsuki, let’s keep this up and defeat the Impurity God! You know, I was really worried and honestly pretty terrified of having to do this. I knew being a hero wasn’t a walk in the park, but I think I underestimated just how scary it actually was. But now? I’m feeling more confident about this whole thing. I’m sure there’s still a tough road ahead, but I’m not afraid anymore. We can do this. We can—
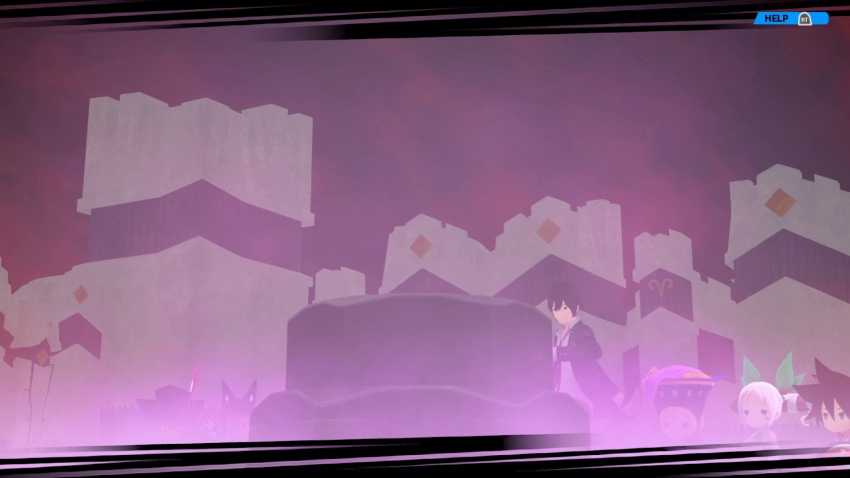
*The ground (and screen) shakes while this mysterious roar happens*
What the hell is happening!? Mana! Please tell me this is normal! Huh?! Don’t get cold feet on me now! I’m trying!*The shaking finally calms down and the roaring stops*
That roar really shook me down to the bone. What was that? Some kind of Granvanian animal? No animal can make that sound. That thing’s like… …Yes? I dunno. Ugh, that figures. It came from the labyrinths, so it may be an Impurity God. It’s so creepy. We need to get outta here. No complaints from me. Let’s go everyone! You’ve finally defeated an Impurity God. Congratulations, Itsuki. I don’t think that’s actually sunken in yet to be honest. Defeating an Impurity God so quickly shows you’re a special God’s Gift. Can we forget about that for now? I’m more worried about what just happened with the ground and everything. That’s understandable. It would seem like something stirring in the labyrinths is the cause of that. According to the documents I’ve researched, which span multiple centuries… There are no records of this happening previously. Great… That’s never a good thing. It kinda sounded like… a scream. Right, Itsuki? That’s a disturbing way to put it, but yeah, it’s accurate. It definitely sent a chill down my spine. So are you two saying you heard something as well? Yup, that’s right. Hmm… But I wonder why though.
 I can’t really explain it, I just got this sudden feeling of dread… Whatever the case… I’ll try researching this further. Hopefully I can find something out. I’m not good at reading, so I’ll leave that to the bookworm. Itsuki, you must be tired. You should go back to the Inn and rest. Yeah… That’s a good idea.
 Can you come with me? Oh come on… really? *sigh* Well, I guess I can’t really ignore the King… I’ll find a way to power through a little longer.
~Palace Throne Room~
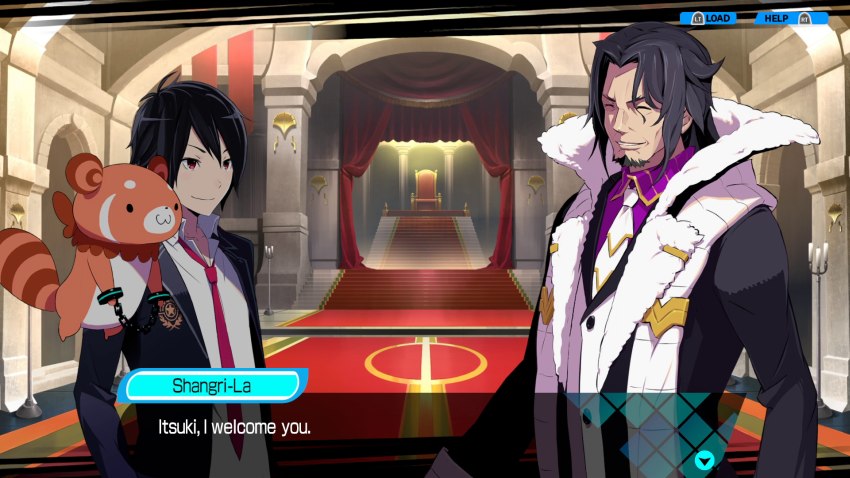 It seems the Impurities are finally dwindling in the labyrinths. Well, that’s good. But how can you guys tell that from out here? I constantly monitor the labyrinths with my Star Wall. What is that? A device that was set up by my ancestors when the labyrinths were erected.
 Mirei, the more you explain it, the more you’ll confuse Itsuki. It’s not really that confusing. My world has something called radar. Sounds like the same idea. If you want to know the intricacies of how it works, come to my room later. I’ll tell you all about it then. Aha… I think I’ll have to pass on that part. Don’t worry, Itsuki. I don’t really get it either. Don’t lump me in with you, Mana. I’m just too tired for lectures right now. The new Star Offering is absorbing the Impurities just fine. Isn’t that right, Mirei? …Yes. At this rate, all the Star Offerings will be enshrined in no time. It may not be much, but I’ll be holding a banquet for you in celebration. Use that as an opportunity to get to know the Star Maidens better. It will also serve as a welcoming party for your God’s Gifts. And don’t say it’s too late for that. Remember that our nation is in turmoil. A party like this isn’t normally allowed unless something significant occurs. Significant, huh? I wonder… You’ve already done this so far. So everyone in Granvania is thankful to you, Itsuki. Now, my subjects, prepare for the banquet.
Good news, everyone! The God’s Gift didn’t get immediately killed! Today, we celebrate!
Anyway, that’s a good place to end things. Next update, there will be a big party and we’ll awkwardly dance with